As a local flooring and carpet fitting specialist, we understand the importance of quality, durability, and aesthetics when it comes to flooring solutions. In this blog post, we’re excited to share our expertise on installing Karndean Knight Tile in your kitchen and hallway. We’ll be using top-notch materials like Floorwise Pro Gold Screed, Uzin Adhesive, and SP101 Plywood to ensure a flawless installation that elevates the beauty and functionality of your home.
Why Choose Karndean Knight Tile?
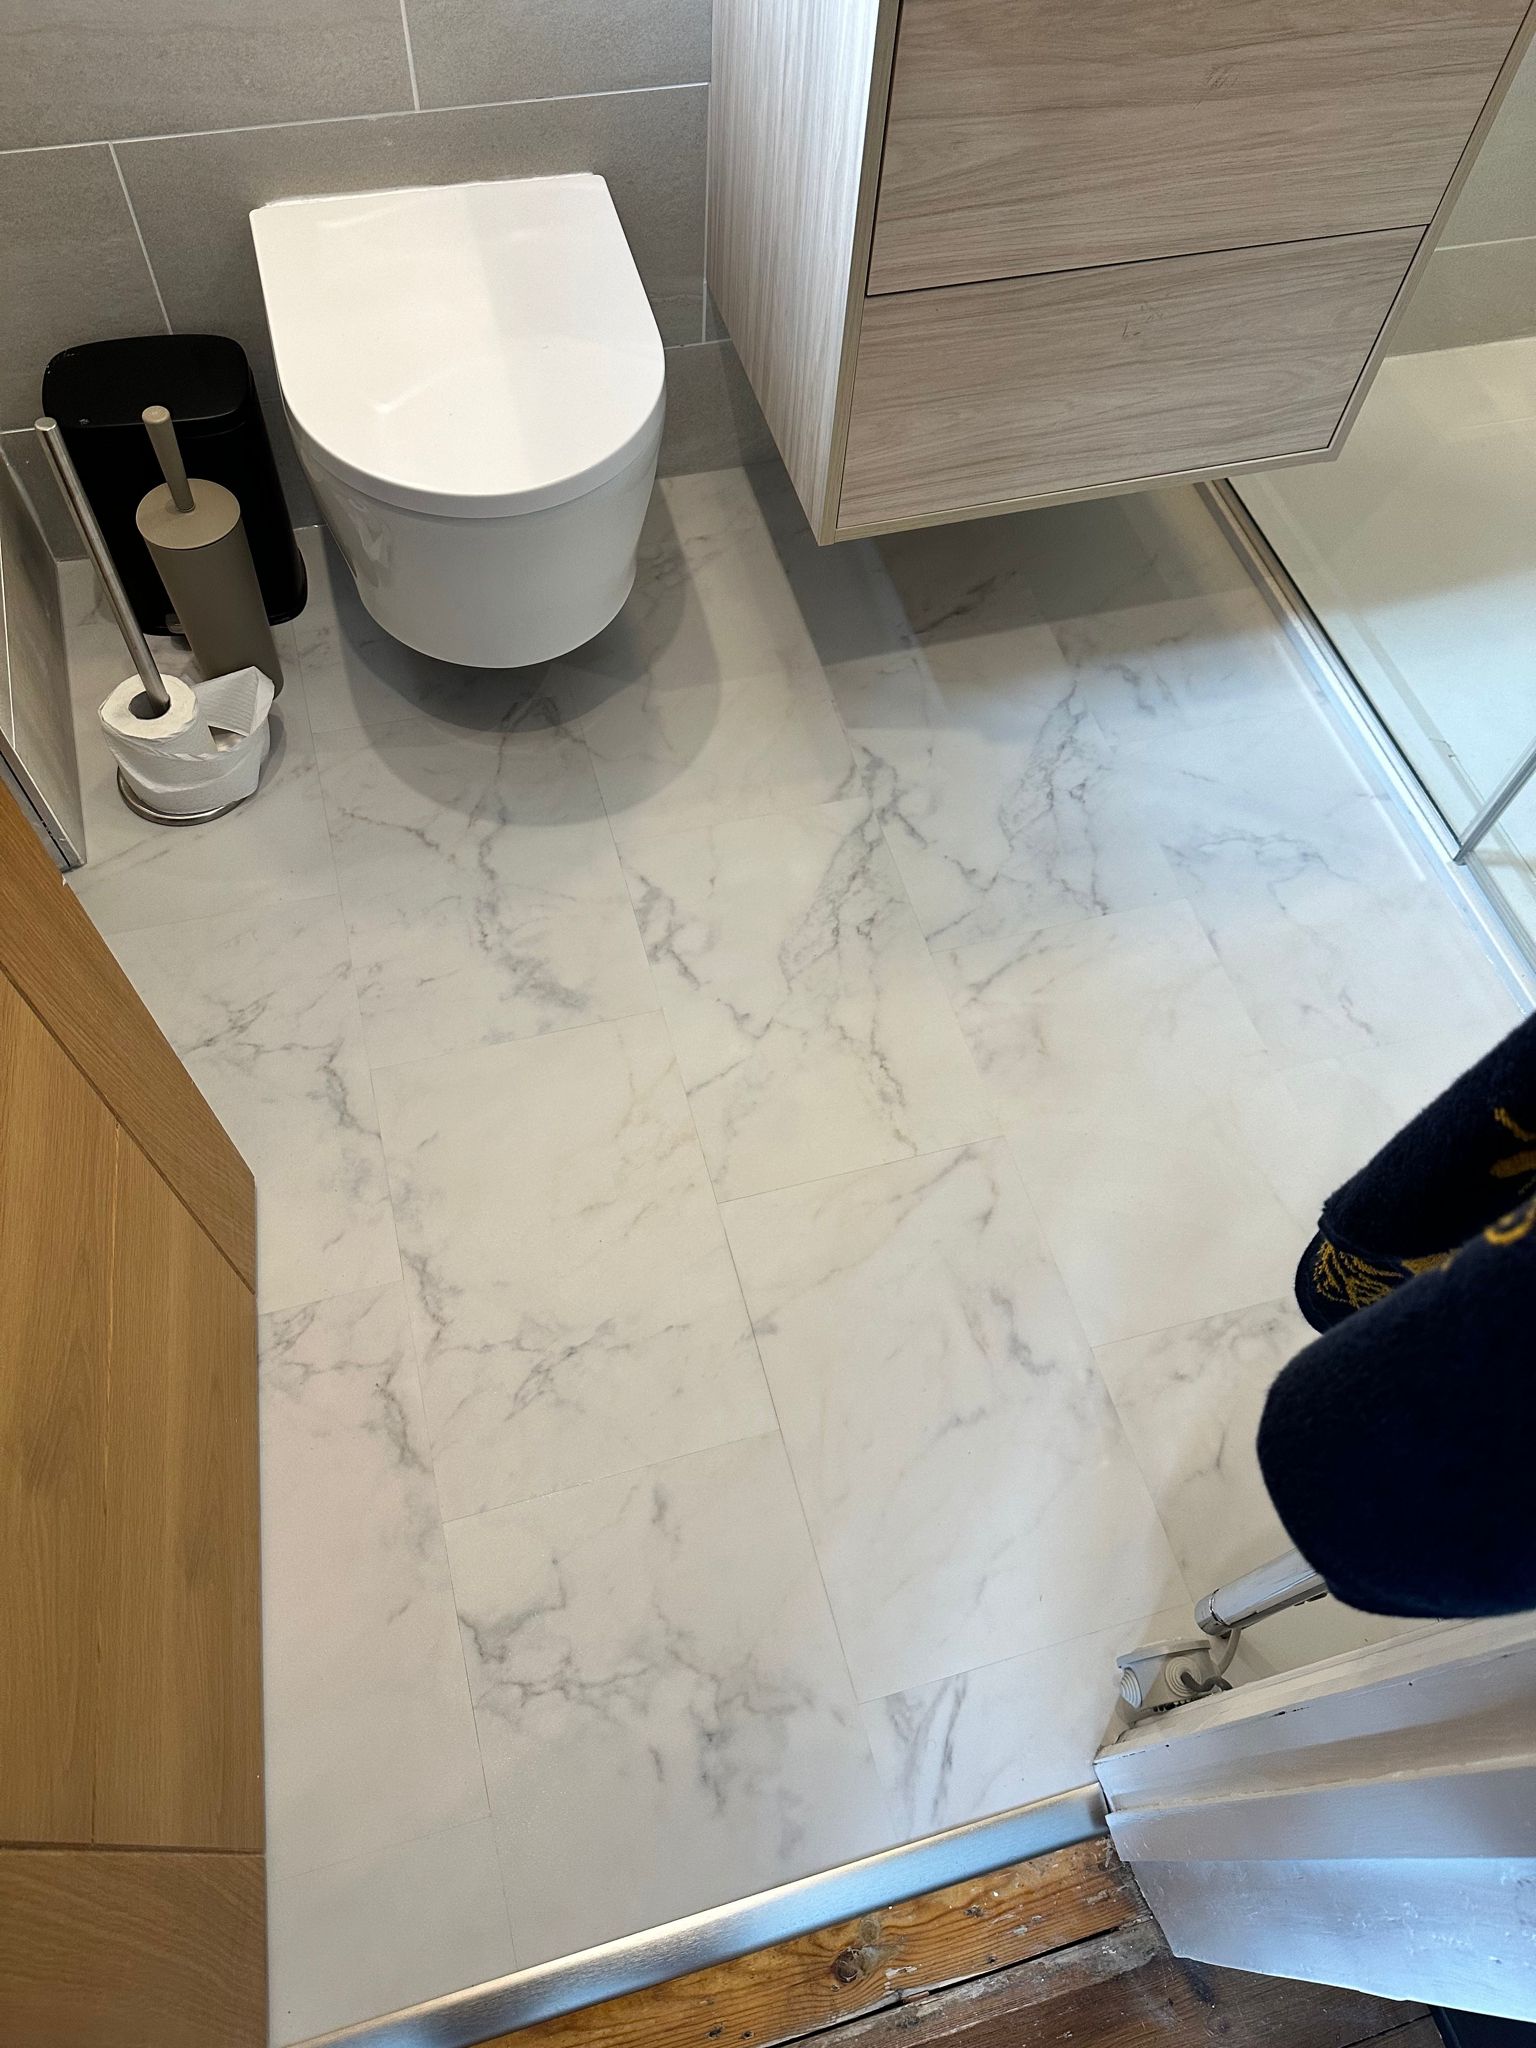
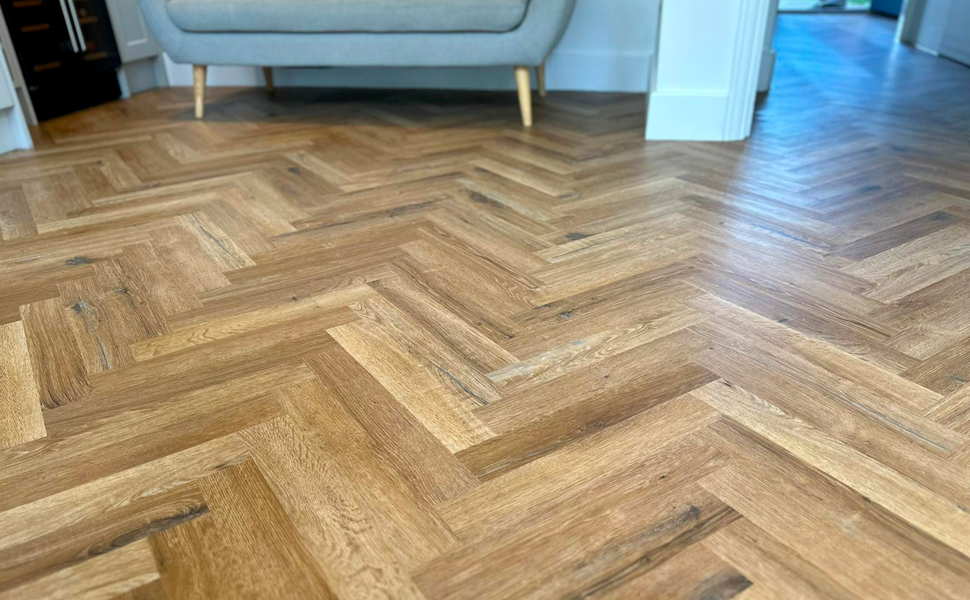
Karndean Knight Tile is a premium luxury vinyl flooring that combines the timeless look of stone or ceramic tiles with the comfort and resilience of vinyl. This versatile flooring option offers an array of colors and patterns, making it suitable for various interior styles, from traditional to contemporary.
Step-by-Step Installation Guide
1. Preparing the Subfloor
Before embarking on the installation, it’s crucial to prepare your subfloor properly. Ensure it’s clean, dry, level, and free from imperfections. For this installation, we’ll be using SP101 Plywood to create a stable and smooth surface.
2. Installing SP101 Plywood
SP101 Plywood is an excellent underlayment choice to establish a solid foundation for your Karndean floor. Follow these steps:
- Measure and cut plywood sheets to fit the entire area.
- Lay the plywood sheets on the subfloor, ensuring a precise fit.
- Secure the plywood with screws, making sure they are countersunk to prevent unevenness.
3. Applying Floorwise Pro Gold Screed
Achieving a level surface is essential, and that’s where Floorwise Pro Gold Screed comes in. This self-leveling compound is a crucial step in the installation process:
- Mix the Floorwise Pro Gold Screed according to the manufacturer’s instructions.
- Pour the mixture onto the plywood and spread it evenly using a trowel or floor squeegee.
- Allow the screed to dry completely before proceeding.
4. Uzin Adhesive Application
Uzin Adhesive is a high-quality adhesive that ensures your Karndean Knight Tile floor remains securely in place. Here’s how to apply it:
- Apply Uzin Adhesive evenly to the screed using the recommended trowel size.
- Allow the adhesive to reach its “open time” (tacky stage) as per the manufacturer’s guidelines.
- Carefully lay the Knight Tile planks onto the adhesive, ensuring precise alignment and a snug fit.
5. Final Touches
Once the Knight Tile planks are in place, roll the entire floor with a floor roller to ensure proper adhesion. Trim any excess material around the edges and install baseboards or molding to complete the look.
Conclusion
Elevating your home with Karndean Knight Tile is a decision you won’t regret. By following this expert installation guide and using high-quality materials like Floorwise Pro Gold Screed, Uzin Adhesive, and SP101 Plywood, you’ll not only enhance your home’s aesthetics but also ensure a durable and long-lasting flooring solution.
Remember, a well-executed installation is key to maximising the beauty and longevity of your Karndean Knight Tile floor. If you’re unsure about tackling this project on your own, don’t hesitate to reach out to us, your local flooring and carpet fitting experts for professional assistance.
Invest in your home’s future with Karndean, and experience the transformation of your kitchen and hallway into stunning, low-maintenance spaces that stand the test of time. Contact us today for personalised guidance and expert installation services that exceed your expectations.